以下の記事でGinをインストールしてGo APIの実装を始めました。今日はcookieを実装します。
- cookieとは
- cookieの実装
- APIの確認
cookieとは
cookieとは、ウェブブラウザに保存される情報のことを指します。
サイトにログイン後、再度同じサイトにアクセスするとログインした状態になっていることがあります。これはcookieとしてユーザー情報が保存されているからです。他にも閲覧したページに関連する広告を出したりと、様々な場面で利用されています。
本記事では、Ginによるcookie操作を確認します。
cookieの実装
Ginによるcookieの設定と取得には以下のメソッドを利用します。それぞれのメソッドの引数・戻り値の型については、gin-GoDocに記載されています。
- cookieの設定・・・gin.Context.Cookie
- cookieの取得・・・gin.Context.SetCookie
上記のメソッドを使ったcookie.goを以下に示します。
package main
import "github.com/gin-gonic/gin"
func main() {
router := gin.Default()
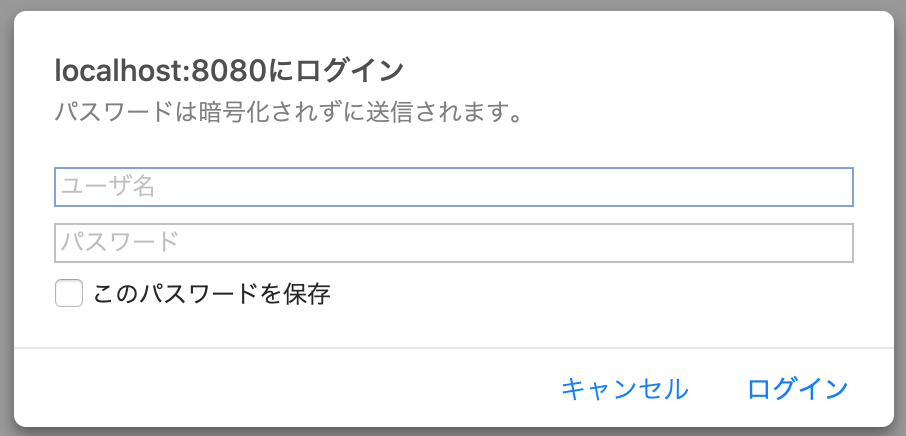
authorized := router.Group("/admin", gin.BasicAuth(gin.Accounts{
"koratta": "koratta",
"koratta2": "koratta2",
}))
authorized.GET("/login", func(c *gin.Context) {
user := c.MustGet(gin.AuthUserKey).(string)
c.SetCookie("user", user, 3600, "/", "localhost", false, true)
})
authorized.GET("/hello-cookie", func(c *gin.Context) {
user, user_cookie_err := c.Cookie("user")
if user_cookie_err != nil {
user = "Guest"
}
c.JSON(200, gin.H{ "message": "Hello " + user })
})
router.Run()
}
/loginにログインしたユーザー情報をcookieに保存し、/hello-cookieにアクセスすると”user”cookieの値を表示します。違いがわかるように、直接/hello-cookieにアクセスした場合は”Guest”が表示されるようにしています。
16行目c.SetCookie("user", user, 3600, "/", "localhost", false, true)の引数について解説します。
- 第一引数・・・cookieのKeyを指定します。ここでは”user”を指定しています。
- 第二引数・・・第一引数のKeyに対応するValueを設定します。ここでは、string型変数userを設定しています。userは、15行目の
c.MustGet(gin.AuthUserKey).(string)で、ログインしたユーザー名を代入しています。 - 第三引数・・・cookie情報を保存する時間を指定します。ここでは1時間で設定しています。
- 第四引数・・・cookie情報が扱える範囲のパスを指定します。ここではルートパスを指定しています。
- 第五引数・・・cookie情報が扱えるドメインを指定します。ここではlocalhostで指定しています。
- 第六引数・・・httpsでもcookieを利用するか指定します。trueの場合はhttpsでも利用できます。
- 第七引数・・・httpリクエストのみcookieを利用できるようにするか指定します。trueの場合JavaScriptからcookieを利用することができません。trueにすることで、クロスサイトスクリプティング(XSS)攻撃を緩和することができます。
20行目のuser, user_cookie_err := c.Cookie("user")は、”user” KeyのValue値を取得しています。Cookieメソッドの戻り値はstring, errorと二つあります。
APIの確認
実際にAPIの挙動を確認してみます。
まずはlocalhost:8080/hello-cookieに直接アクセスします。以下の通り、cookieに保存していないので”Hello Guest”が返ってきます。
$ curl -u koratta:koratta localhost:8080/admin/hello-cookie
{"message":"Hello Guest"}
次に、localhost:8080/loginに一度アクセスしてから、localhost:8080/hello-cookieにアクセスします。/loginでユーザー情報をcookieに設定しているので、以下の通り”Hello koratta”が表示されます。


以上です。